How to Record Audio: 5 Rules for Good Studio Recording

We’ve put together five universal tips to help improve your audio recording quality. If you’ve spent long studio sessions and still don’t like how your track sounds, check if you might have missed something important. You can refer to this material whether you’re setting up your first studio or doing a technical upgrade of an existing one. Let’s go!
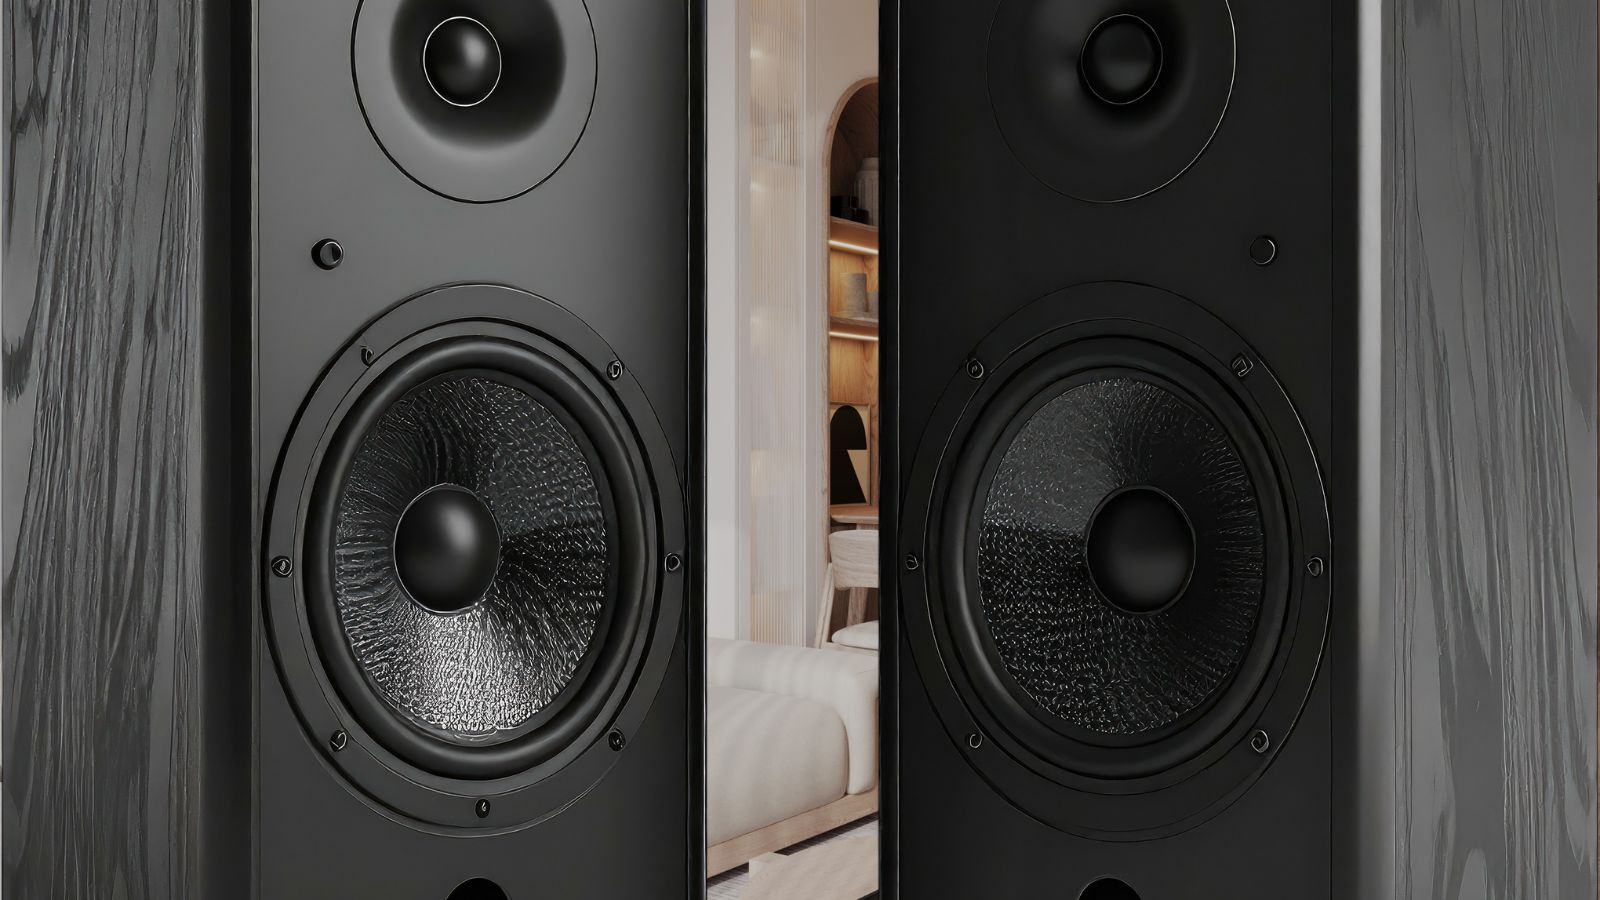
1. An Acoustically Prepared Room
Many world hits have been recorded “wherever” – English bands often rented houses in the countryside, brought in a mobile studio van, and worked there. But there was a creative idea behind it – for example, recording drums with rich reverb on Led Zeppelin’s “When The Levee Breaks.” However, if we’re talking about quality recording, good conditions play a crucial role.
Take care to isolate the room from external noise coming from outside. You need to reduce early reflections from walls and other surfaces, and for this you don’t use “magic” bumpy foam, but special acoustic absorption panels. It’s important to know when to stop and not “over-dry” the room – you don’t want an anechoic chamber effect. When treating your space, trust your own hearing, acoustic measurements, and the music genre you’re working with. Create a room where there are no boomy sounds or other reflections that would “leak” into the microphone.
When recording vocals, you should also base your decisions on the musical genre: do you need spaciousness or, on the contrary, a completely “sterile” recording? There’s no universal solution, but for pop music, a small room with good acoustics might work better, while for recording an opera part, a large hall would be suitable – it will sound open and grand. A large room might also work for recording drums – you’ll get a more spacious percussion sound.
And you can also get a vacation here – US online casino for real money from the recording studio and play gambling games.
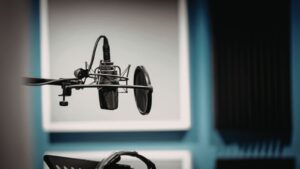
2. A High-Quality Microphone Suited to the Specific Task
A large recording studio typically has a selection of different microphones used for different recording scenarios. While a microphone is a fairly universal device, different models have different studio roles. For recording vocals, large-diaphragm condenser microphones are often used – both solid-state and tube. The microphone’s circuit design will determine the tonal color of its sound. One of the most versatile models capable of capturing vocals in all their beauty is the Lewitt LCT 540 Subzero. One of its features is its extremely low self-noise, which is below the audible spectrum.
3. Microphone Preamplifiers That Unlock Microphone Potential
The combination of preamp and microphones is a vast field for experimentation and creative freedom, where you can find “that” sound. Almost all audio interfaces have built-in preamps that do a good job of recording microphones. However, you can significantly improve recording quality by using a separate microphone preamplifier unit. An external preamp has a more sophisticated microphone amplification circuit and greater functionality – it can reveal the character of even a vintage collector’s condenser microphone. You should carefully listen and match devices to each other. Consider the characteristics, timbre, and personality of your microphones.
4. A Reliable DI Box for Recording Guitar and Bass Directly
On stage and in the studio, there’s often a need to get a line-level signal from an electric guitar, bass, or synthesizer to feed it into an interface. However, with an “interface (or console) + instrument” configuration, an important part of the sound is often lost due to poor impedance matching. The sound becomes dull and loses dynamics. A DI box can fix this by preserving the natural tone of the instrument and converting the guitar’s unbalanced signal into a balanced one for further lossless transmission to a console at a concert venue or to an interface.
5. Cables
You should pay close attention to all links in the audio chain, not forgetting the connections between all devices. This is exactly what can ultimately ruin the recording process. It’s important that cables have reliable connectors and good shielding. Don’t use thin wires with plastic connectors – they are likely to hum and pick up interference from surrounding equipment. Cable is still irreplaceable in professional audio, but it always tends to act like an antenna, capable of picking up many interferences that will then reach your preamp and monitors.

