
Understanding Household Water Shut-Off Valves in Older Plumbing Systems

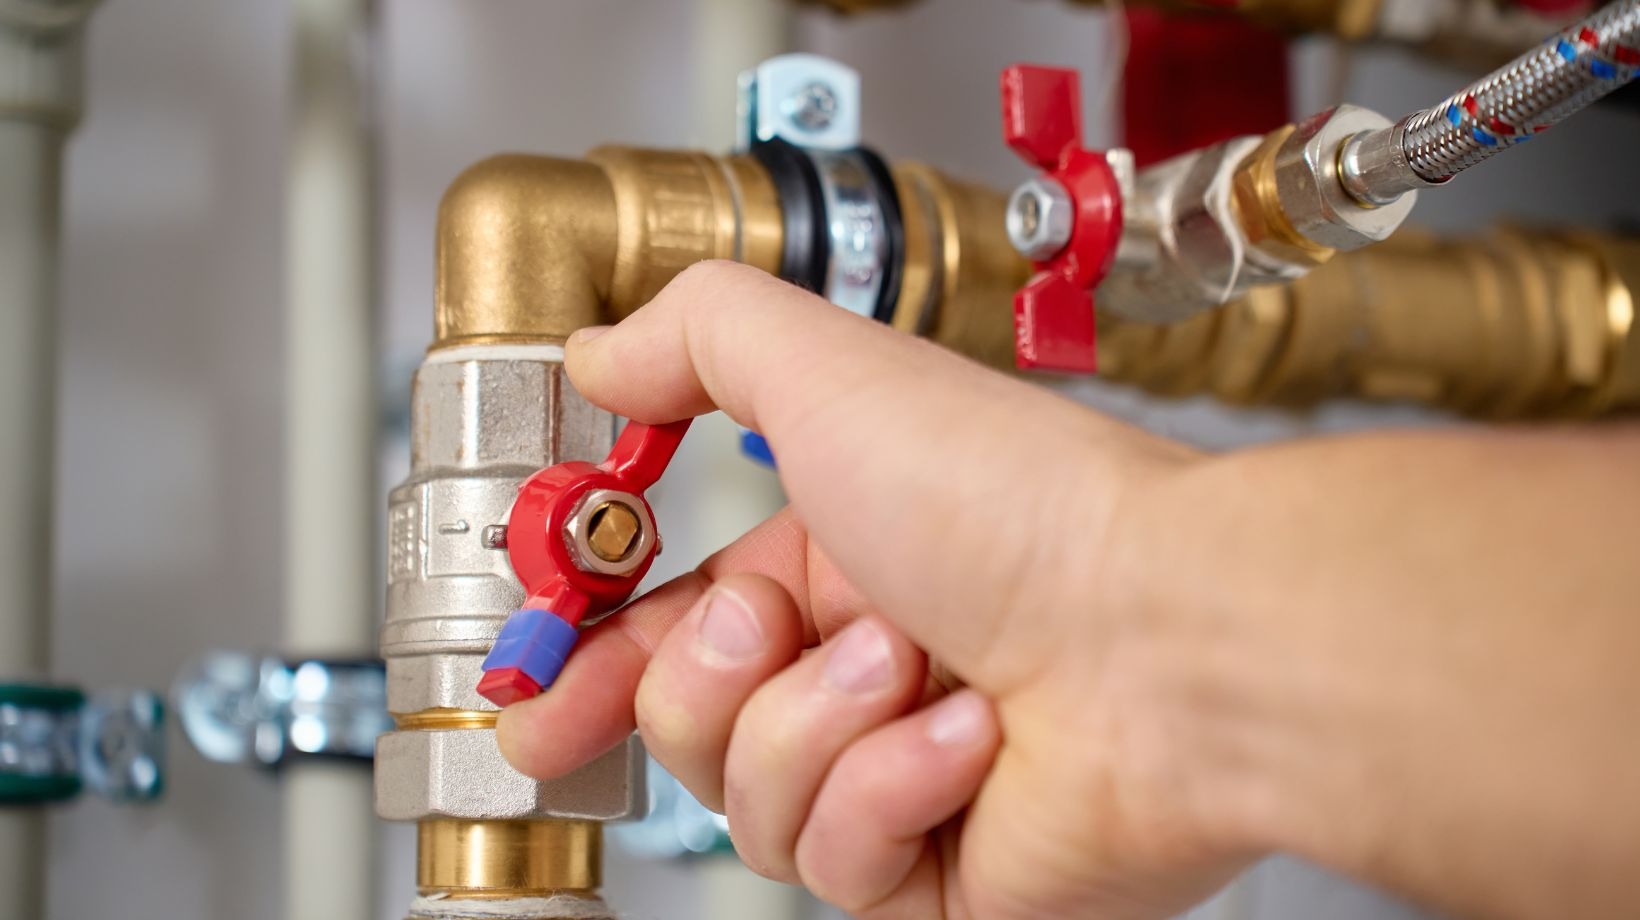

Water shut-off valves rank among the most critical—and most consistently overlooked—components in any home. They let you stop water flow immediately during a leak, a repair, or an appliance swap, potentially sparing you thousands of dollars in damage. Many homes still rely on older piping materials such as galvanized steel, copper, or gray plastic, and the valves attached to these systems can become a genuine liability as the years add up. If your home still runs on older gray plastic piping, you may depend on a polybutylene shut off valve for fixtures like sinks or washing machines—and understanding how those valves actually work is essential for keeping your plumbing safe and functional. Knowing where your shut-off valves are located, and whether they still operate reliably, is simply part of responsible homeownership.
What Shut-Off Valves Do and Where to Find Them
Every home has two tiers of water control. The main water shut-off valve stops all flow entering the house and is typically found near the meter, in a basement, or tucked into a utility area. Fixture shut-off valves are smaller and positioned directly at individual fixtures—under sinks, behind toilets, near washing machines—allowing you to isolate one area without cutting water to the entire house.
The three most common types are ball valves (a quarter-turn lever, highly reliable and the preferred choice for new installations), gate valves (a round wheel requiring multiple turns, older in design and prone to seizing over time), and stop valves at individual fixtures, which come in compression or push-to-connect styles.
Key Takeaway: Learn the location and operation of your main and fixture shut-off valves well before an emergency forces you to find them.
Older Plumbing Materials and Their Shut-Off Valves
The piping material in your home directly shapes how shut-off valves connect and how dependably they hold up over time:
- Galvanized steel — susceptible to internal corrosion; valves may seize or develop leaks around the stem
- Copper — valves are typically soldered in place or use compression fittings (a nut and ferrule tightened around the pipe)
- Polybutylene (poly-B) piping — gray flexible plastic installed widely in the late 20th century, now considered a legacy material; valves connect via barbed fittings with crimp rings, and transition fittings are required when joining to modern copper or PEX
- Early PEX — uses similar crimp or push-to-connect fittings, sometimes with mixed adapters depending on the installation era
Common Warning Signs of Valve Problems
Valve failure rarely happens all at once—it tends to creep up gradually. Key signs of valve failure include a stuck or unusually hard-to-turn valve, a valve that won’t fully stop water flow, drips around the stem or packing nut, visible corrosion or mineral buildup, and—on plastic systems in particular—cracking or discoloration near the fittings.
Quick Inspection Checklist:
– Locate and visually inspect each fixture shut-off valve
– Test that each valve turns without excessive force
– Check for drips or moisture at valve connections
– Look for corrosion, rust staining, or mineral deposits
– Inspect visible piping near valves for cracks or deformation
Basic Maintenance and Safe Use
One of the simplest things homeowners can do is periodically turn each valve fully off and then back on again. This keeps the internal mechanism from seizing up due to prolonged inactivity—a surprisingly common problem in homes where valves are never touched until something goes wrong. Keep the areas around valves clear so any early drips are easy to catch, and make sure connection points are snug without being overtightened, especially on older plastic components that can crack under too much pressure.
Always shut off the main water supply before attempting any valve work, and consult a licensed plumber for anything beyond a basic visual inspection. On legacy systems like polybutylene, even swapping out a single fixture valve may call for special adapters and careful pipe cutting—work that is genuinely best left to a professional.
Planning Upgrades and Talking to a Plumber
Renovations, appliance replacements, or a pattern of recurring leaks are all natural opportunities to upgrade aging shut-off valves. For polybutylene and mixed-material systems, a plumber will typically cut back the existing pipe, install a transition fitting, and connect a modern ball valve using copper or PEX. Material compatibility matters here—mismatched fittings create new leak points almost as quickly as the old ones.
When speaking with a plumber, ask about the pipe material and valve type being used, request a clear explanation of what is being installed, and find out how often the new connections should be inspected going forward. A licensed professional can also give you an honest assessment of whether broader pipe replacement makes sense for your situation.
Staying Prepared: Making Your Shut-Off Valves Work for You
Every home depends on functioning water shut-off valves for both day-to-day maintenance and genuine emergencies. Older systems—particularly those involving legacy materials like polybutylene—deserve periodic attention and thoughtful planning when upgrades become necessary. Regular inspection and timely replacement reduce the risk of water damage and make future repairs considerably less disruptive. Take time now to locate your main and key fixture valves, test that they operate smoothly, and schedule a professional evaluation if anything looks worn or uncertain. Know your valves before an emergency strikes—it is one of the simplest, most valuable steps any homeowner can take.
The information in this article is intended as general educational guidance and does not replace a professional assessment of your specific plumbing system.
What's Your Reaction?