How to Create Aesthetic Photos
A strong aesthetic photo is more than just pretty. It grabs you quickly, establishes a mood, and makes you stop for one moment longer. Having a distinctive style will help create fun projects, push social media, client work, and other small everyday moments that you and your audience will both remember better.
In this guide, we explain how to make aesthetic photos. You will receive hands-on, entry-level advice on how to form and enhance your style without getting in the way of creating content or dealing with unnecessary jargon. The aim is straightforward: make photos that seem nuanced, individual, and relatable.
Step 1: Define the Mood Beforehand
Start by choosing the mood your final image will carry. A quiet morning frame, a soft portrait near a window, and a bold street shot at dusk may all look beautiful, but these images do not tell the same story. Location, colors, clothes, and even some compositional nuances revolve around this core concept.
What should the viewer feel when they see this image? Calm, warmth, nostalgia, freshness, or energy are all good starting points. Once you have that answer, build the frame around it. Pick one main subject, keep the color palette controlled, and avoid adding random elements that weaken the idea.
Step 2: Choose Subjects and Scenes with a Character
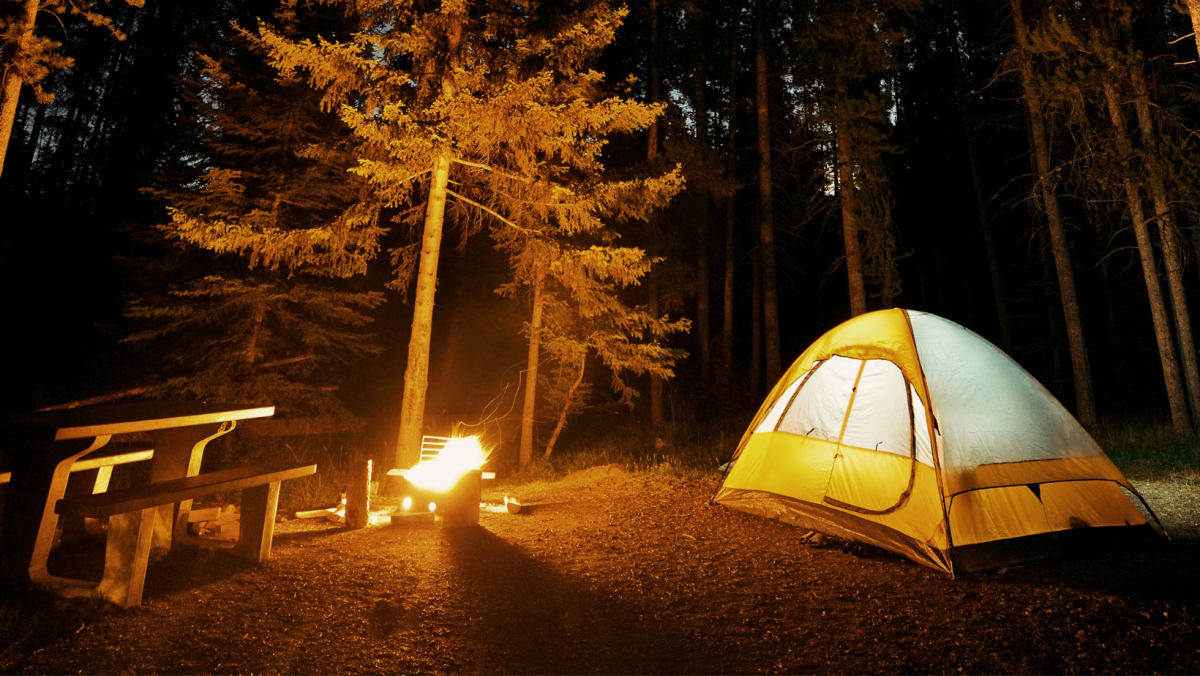
Good styling often starts with noticing ordinary beauty. A cup of coffee by a window, books left open on a bed, a rainy street after sunset, or an old wall with peeling paint can all convey a mood with little effort.
You don’t have to search for dramatic places. Every good photographer should develop a keen eye to notice what already feels lived-in, quiet, textured, or visually calm. At-home setups and DIY props are not only fun to make, but they also save your budget and make your images more emotionally appealing and relevant.
Step 3: Work with Light
Understanding how to take aesthetic photos requires thoughtful choices in lighting. Soft daylight is usually the easiest place to start because it gives skin, fabric, food, and everyday objects a cleaner and more natural look. Ambient illumination is the easiest way to create mood, while the gentle directional lighting can make pictures deeper and more dramatic without compromising their realism.
Start near a window, a doorway, or outside on a bright but cloudy day. Then watch where the light falls. Front light makes a scene feel open and clear. Side light brings out shape and texture. Backlight can add glow and softness when you want a more dreamy result. You do not need to memorize technical rules here. You need to notice how the same face or object changes when you move a step to the left or right.
Step 4: Frame Intentionally
Compositional techniques like negative space, the rule of thirds, leading lines, and natural framing are fundamental to creating aesthetic pictures. Decide what to include and what to leave out to guide the viewers’ attention and make the final results more impactful.
If one object, person, or detail carries the mood, let it lead. Move distracting items out of the shot. Step closer if the background weakens the image. Leave empty space around the subject when you want a calmer, cleaner result. Try a few easy aesthetic photo ideas that naturally support this look: a portrait framed by a doorway, a coffee cup near a bright window, flowers against a plain wall, or a person walking along a line of shadows.

Step 5: Edit Cautiously
Aesthetic images are often edited, but changes should be subtle. Adjust brightness up if the frame feels flat, tweak contrast to make things pop, and adjust warmth or color balance until the scene reflects the mood you saw in real life.
If you are working on a small series, keep one visual thread running through it. That could be soft contrast, muted tones, warmer highlights, or cooler shadows. Repeated choices make the set feel intentional. To keep that look steady without starting from zero every time, many photographers use Luminar Neo presets as a base and then fine-tune each image to fit the scene.
Preserve the original file in advance if your software does not edit non-destructively. Every tweak should be reversible without risking permanently altering and damaging the original photo. If skin turns plastic, shadows lose detail, or colors start pulling attention away from the subject, you have probably gone too far. Toggle back and start anew until the results look believable.
Conclusion
Creating strong aesthetic pictures is not about copying a trend or relying on heavy processing. It comes from a series of simple choices that work together. Use one location, one light source, and one clear idea. Test different angles. Remove distractions. Keep the final look consistent. Over time, these habits shape your style. The best result is not a perfect image. It is a photo that feels honest, memorable, and recognizably yours.
