Getting Your Home Ready for Hardwood Sanding
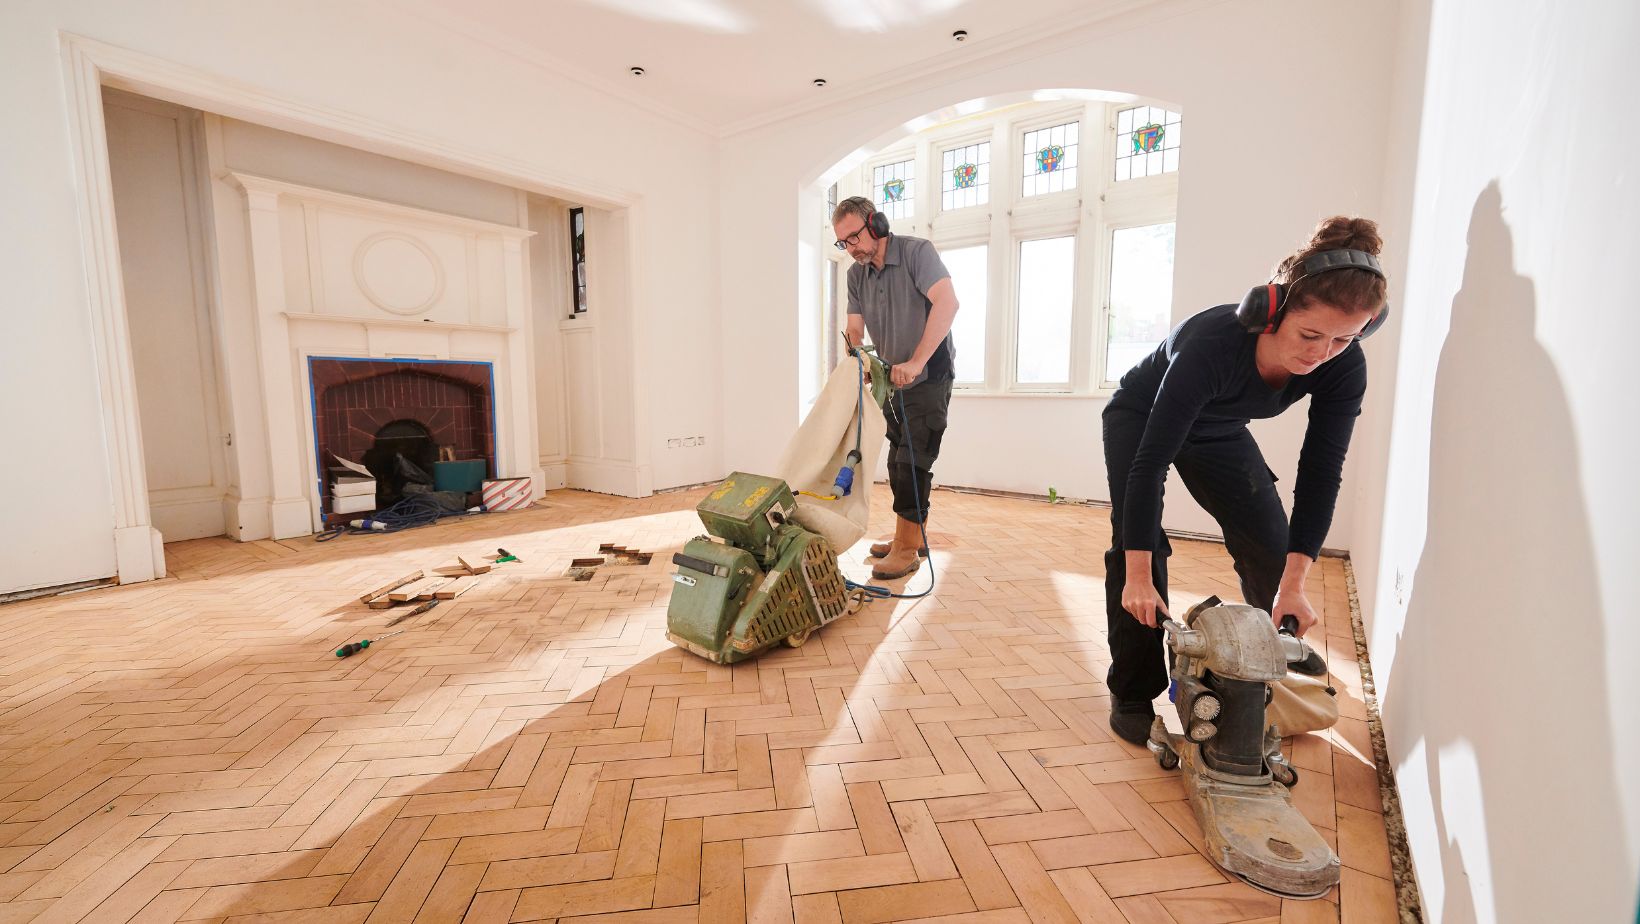
Hardwood floors are renowned for their timeless elegance and durability, adding warmth and character to any living space. However, over time, even the most resilient hardwood floors can succumb to wear and tear, losing their luster and accumulating scratches. When this happens, sanding and refinishing become the perfect solutions to breathe new life into your beloved floors. But before you embark on this transformative journey, meticulous preparation is key to ensuring a smooth, efficient, and dust-free experience.
Planning and Communication
Before you begin the journey of transforming your hardwood floors, it’s crucial to approach the hardwood floor sanding project with a well-thought-out plan. This preparation phase is not just about readying your physical space but also about making informed decisions on how to proceed.
Decide on DIY or Professional Sanding:
- DIY: Consider your experience, time commitment, and access to necessary tools and equipment. Remember, this project requires significant physical effort and attention to detail.
- Professional: Hiring qualified professionals guarantees expert execution and minimizes disruption to your daily life. Obtain quotes from multiple companies, compare their services and pricing, and ask about their experience and insurance.
Choose the Right Time
Select a time when your home will be relatively unoccupied for several days, as dust generation and strong odors are inevitable during the sanding process.
Communicate Effectively: If residing in an apartment or condominium, inform your neighbors and property management beforehand.
Clearing the Space
Once the planning is complete, it’s time to prepare the room for sanding. Here’s a step-by-step approach:
● Remove all furniture: This includes sofas, chairs, tables, rugs, and any other objects present in the room. Disassemble furniture when possible and relocate heavier items to a designated area outside the room.
● Clear walls and baseboards: Move pictures, wall hangings, and any items off the walls. Cover baseboards with painter’s tape or sturdy drop cloths to prevent dust and scratches.
● Close vents and openings: This minimizes dust circulation throughout the house. Use heavy-duty masking tape and plastic sheeting to seal air vents, doorways, and windows.
● Clear the room completely: Sweep, vacuum, and mop the entire floor surface thoroughly. This removes any loose dirt, debris, or dust particles that could interfere with the sanding process and affect the final finish.
Pre-Sanding Tasks
Before the sanding begins, dedicate time to address minor imperfections in your hardwood floors. This ensures optimal results and a smooth sanding experience.
Identify and remove nails and staples: Use a metal detector or strong magnet to locate any hidden nails or staples protruding from the floor surface. Carefully remove them using a nail puller or pliers, ensuring they are flush with the wood.
Fill in minor gaps and cracks: Use wood filler specifically for hardwood floors. Apply the filler according to the manufacturer’s instructions, ensuring a smooth and seamless finish after drying.
Remove stubborn adhesives or residue: Utilize appropriate cleaning solutions or scraping tools to carefully remove any stubborn adhesives, tape residue, or other unwanted materials that adhere to the floor surface. Be gentle to avoid damaging the wood.
Protecting Your Surroundings
Hardwood floor sanding inevitably generates dust. Here are some essential steps to minimize its spread and protect your belongings:
● Seal doorways: Use heavy-duty plastic sheeting and duct tape to seal the room’s entryway. Consider hanging an additional plastic curtain over the doorway for added protection.
● Cover air vents and openings: Ensure all vents and openings within the room are completely sealed with heavy-duty masking tape and plastic sheeting to prevent dust from entering other areas of your home.
● Protect furniture in adjacent rooms: If furniture cannot be moved out of the house, cover it completely with dust sheets or drop cloths. Secure the coverings with tape to prevent dust infiltration.

● Invest in personal protective equipment (PPE): Equip yourself with a respirator, safety goggles, and gloves to protect yourself from dust inhalation and potential eye and hand injuries during the sanding process.
Additional Considerations
- Prepare for potential noise disruptions: Hardwood floor sanding can be noisy, especially if using heavier machinery. Inform neighbours, especially those residing in proximity, and advise them about the expected duration of the project.
- Ventilation plan: While sealing the room is crucial for dust control, consider setting up temporary ventilation during breaks or after the sanding process to remove lingering dust and fumes. This can be achieved by opening windows on opposite sides of the room to promote air circulation or by using portable air purifiers.
- Research and gather necessary supplies: If DIYing, purchase or rent the appropriate sanding equipment based on the size and condition of your hardwood floors. Essential supplies include sanding discs of varying grits, dust collection bags, edge sander, safety gear, and finishing materials like stain and polyurethane.
- Seek professional guidance: If you’re unsure about any aspect of the sanding process, hesitate to seek advice from experienced professionals or flooring specialists. They can offer valuable insights and recommendations to ensure a successful project.
Essential Tools and Supplies for the Project
While the specific equipment needed might vary depending on whether you’re DIYing or hiring professionals, here’s a general list of essential tools and supplies:
For DIY Sanding:
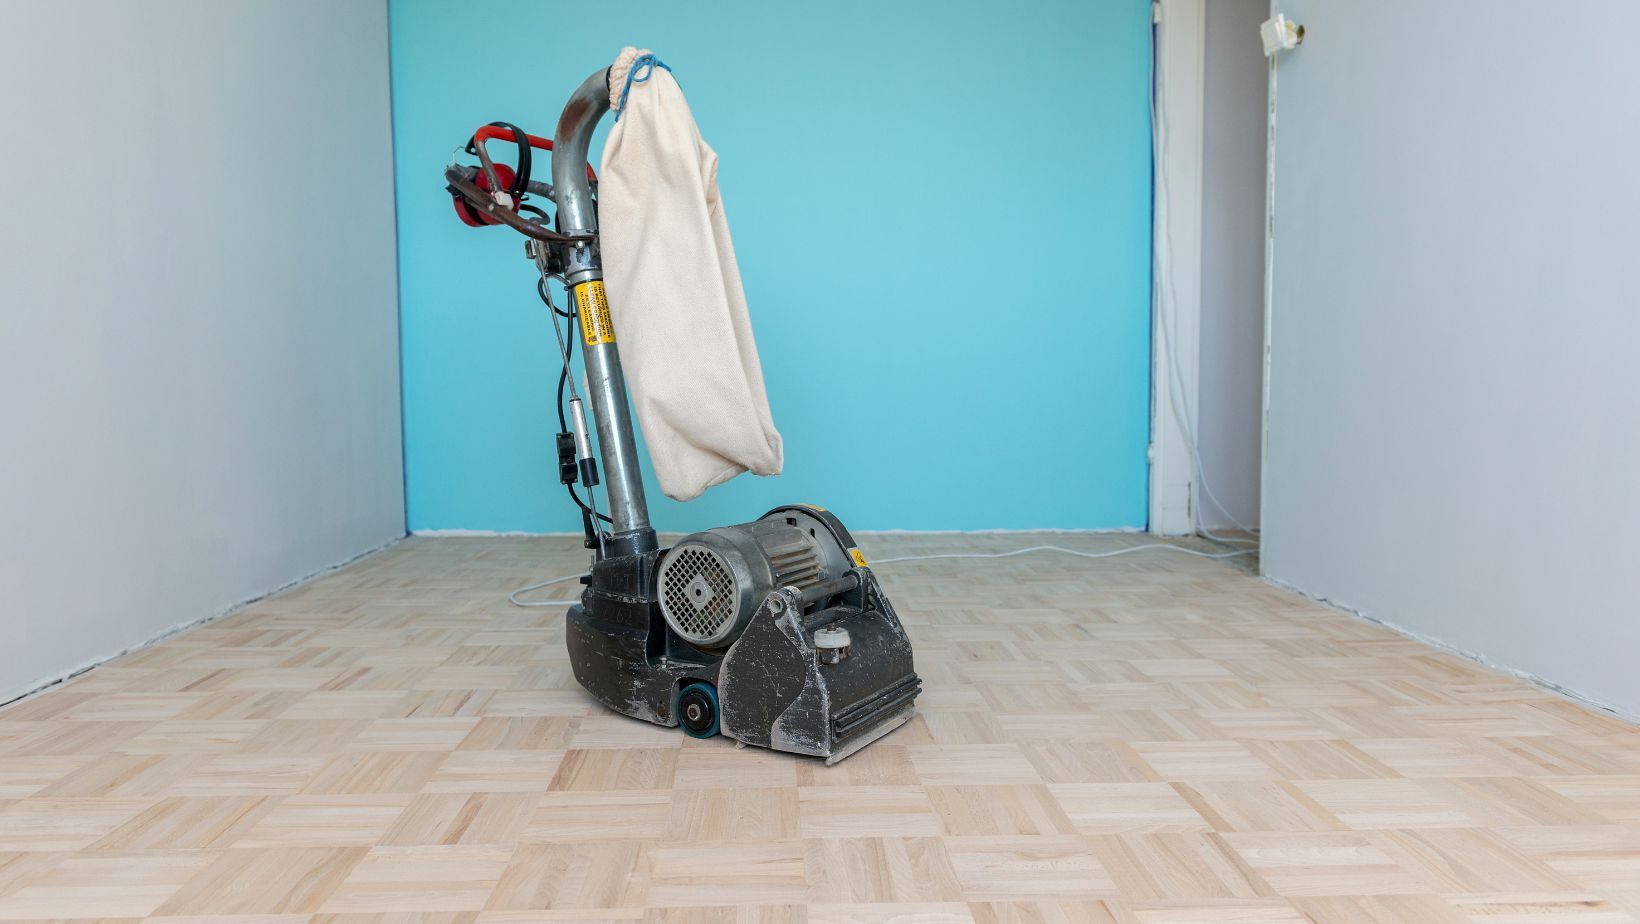
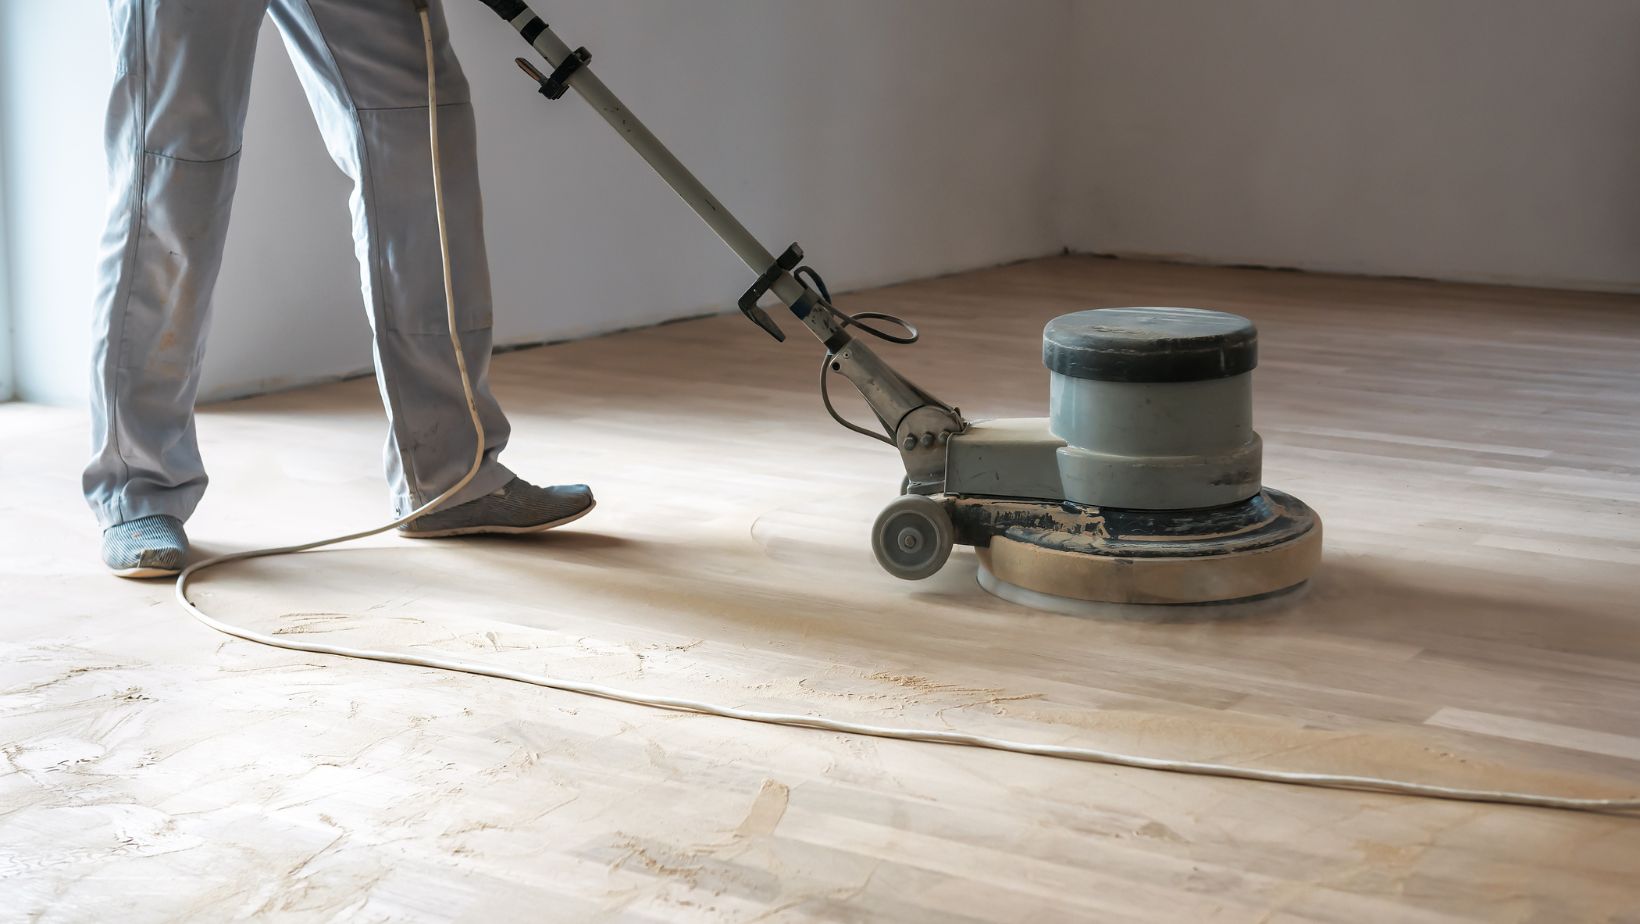
- Floor Sander: Choose the appropriate sander size for your project. Rental options are available if you’re not a frequent DIYer.
- Sandpaper: Procure various grits of sandpaper (typically ranging from 40 to 220) to progress through the sanding stages effectively.
- Shop vacuum: A powerful shop vacuum with a HEPA filter is crucial for efficient dust collection during and after the sanding process.
- Dustpan and broom: These will come in handy for quick cleanups throughout the project.
- Safety equipment: Don’t forget your respirator, safety goggles, gloves, and hearing protection for personal safety.
- Drop cloths and plastic sheeting: These are essential for protecting surfaces and minimizing dust spread.
- Wood filler: Choose a filler specifically formulated for hardwood floors, ensuring its compatibility with your wood species.
- Putty knife: This tool is used to apply and smooth out wood filler.
- Cleaning solutions: You might need specific cleaning solutions to remove stubborn adhesives or residues without damaging the wood.
- Paint scraper: Carefully use a scraper to remove any unwanted materials adhering to the floor surface, like paint or glue.
- Painter’s tape: This is useful for sealing surfaces and baseboards to prevent dust and scratches.
Post-Sanding Clean-up
Once the sanding is complete, it’s crucial to meticulously clean the floor surface before applying any finish.
● Thorough Vacuuming: Use the shop vacuum with a HEPA filter to thoroughly remove all dust particles from the floor surface, corners, and baseboards.
● Tack Cloths: Use tack cloths, also known as cheesecloth, to remove any remaining dust particles that might not be visible but could interfere with the finish’s adhesion.
Cleaning Baseboards: Wipe down the baseboards with a damp cloth to remove any dust or debris.
Additional Tips for a Successful Project
- Maintain proper ventilation: Open windows and doors in adjacent rooms, if weather permits, to promote air circulation and minimize lingering dust and odors.
- Dispose of sanding debris responsibly: Sanding dust can be flammable – dispose of it properly in designated containers and follow local regulations.
- Be mindful of noise: Sanding can be loud, so be considerate of your neighbors and choose appropriate times for the project, especially if residing in an apartment or condominium.
- Expect some disruption: Be prepared for some disruption to your daily routine during the sanding and refinishing process. Consider alternative living arrangements for pets and family members if necessary.
Final Thoughts
With meticulous planning and these essential steps, your home is now primed for a seamless hardwood floor sanding project. Whether you tackle it yourself or entrust it to professionals, you’ve laid the groundwork for a smooth, efficient, and ultimately rewarding experience. Remember, thorough preparation is the key to achieving a stunning transformation, ensuring your beloved floors reclaim their former glory and enrich your home with warmth and character for years to come.

