Spring Twist on Natural Hair: Your Next Go-To Style Unveiled
As the weather warms and flowers begin to bloom, I’ve found myself pondering over a fresh, spring twist on natural hair. It’s around this time of year when we often seek out new ways to rejuvenate our look – just as nature itself is experiencing its own kind of rebirth. Who says your hair can’t be part of this seasonal transformation?
Spring twists are an excellent way to celebrate both the season and the beauty of natural hair. They’re versatile, protective, and add a playful touch to any style you’re sporting. Plus, they’re a fantastic way to showcase your personality while giving your tresses some well-deserved TLC.
Whether you’re already rocking natural curls or just starting on your journey towards embracing them, I’m here to guide you through the process of creating stunning spring twists that’ll make heads turn. There’s no better time than now to explore this stylish option for your mane! With proper care and maintenance, these twists will not only last but also promote growth in your natural hair – it’s truly a win-win situation!
Spring Twist on Natural Hair
When it comes to natural hairstyles, I’m always open to trying something new. Recently, I’ve been captivated by the beauty and versatility of spring twists.
Understanding the Basics of Spring Twist
Spring twists are a protective style typically created using synthetic hair extensions that mimic the texture of natural Afro-textured hair. They’re called “spring” twists because of their bouncy and coiled appearance. One thing’s for sure – they’re a fantastic way to switch up your look while giving your natural curls a break.
The Process: Achieving a Spring Twist on Natural Hair
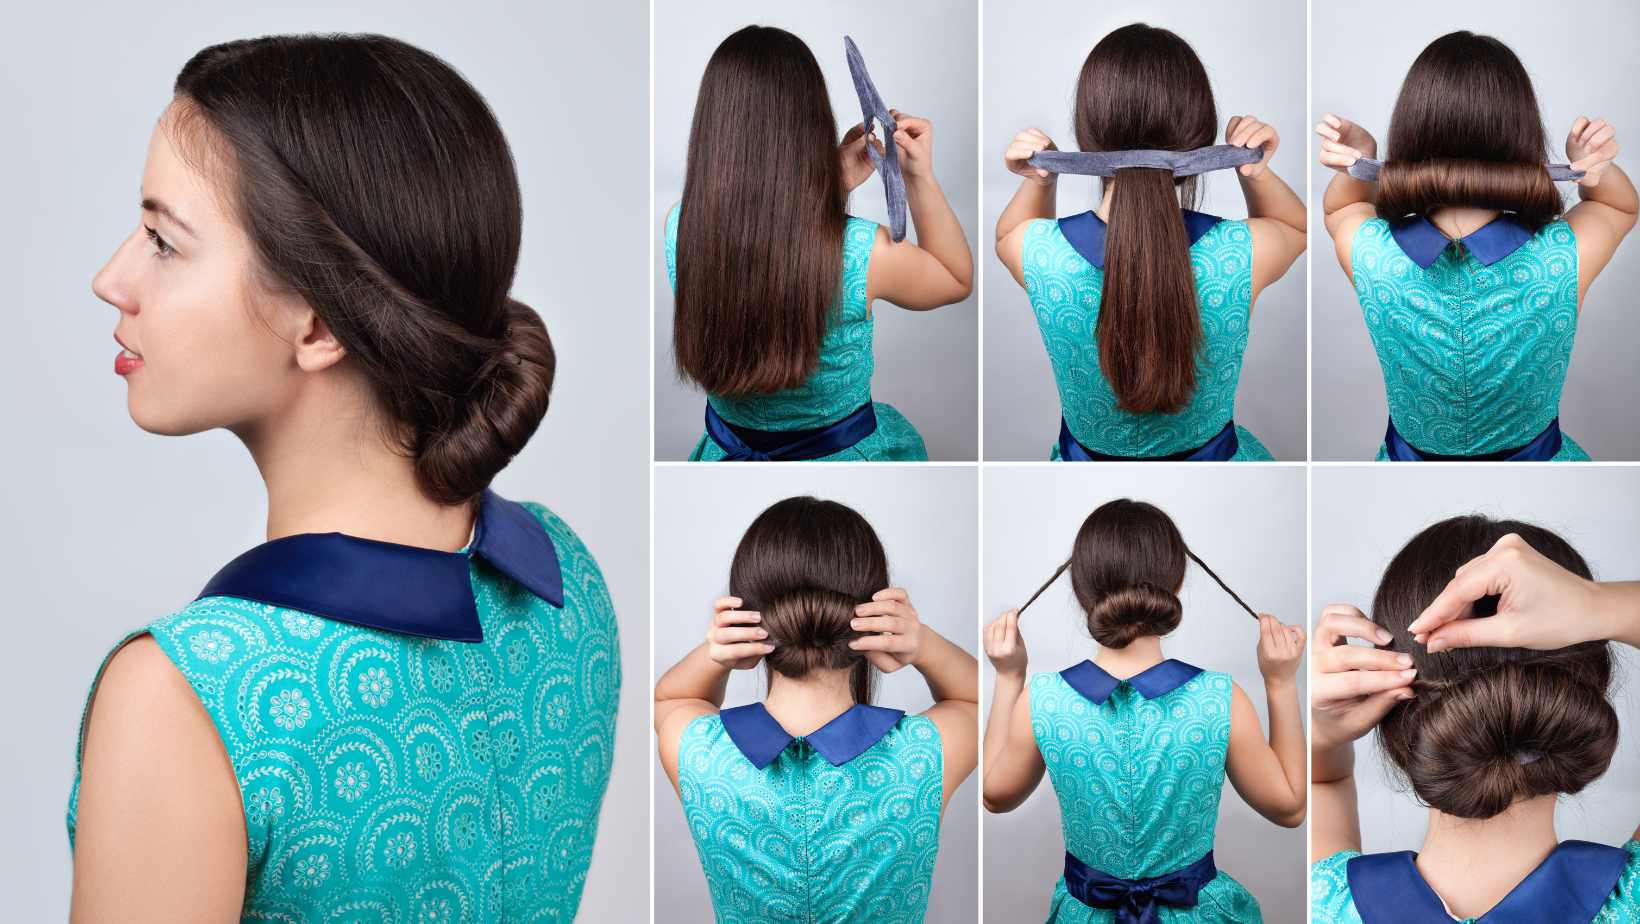
Creating spring twists isn’t as complicated as you might think. You’ll start by washing, conditioning, and detangling your hair thoroughly. Next, you’ll section off your hair into small parts – this will form the basis for each twist.
You then attach the spring twist hair extension at the root of each sectioned part and begin twisting down to the ends. This process is repeated until all sections are complete.
While it may seem time-consuming (it can take several hours), there’s no denying that it’s worth every minute when you see the final look!
Maintenance and Styling Tips for Your Spring Twists
Once you’ve got your gorgeous spring twists installed, maintenance is key! Here are some tips:
- Keep them moisturized: Just like with any hairstyle on natural hair, maintaining moisture is crucial.
- Night-time care: Always wrap your head in a satin scarf or sleep on a satin pillowcase to reduce friction and prevent frizz.
- Avoid over-manipulation: Too much styling can lead to frizziness quicker than anticipated so try not to overdo it with different styles.
In summary, spring twist hairstyles provide both protection and style flexibility for those rocking their natural curls proudly!
Step by Step Guide to Creating Spring Twists
Stepping into the world of natural hairstyles, I’d like to introduce you to a versatile and protective style – the spring twist. Not only does this look add charm to your natural hair, but it’s also fairly simple to create on your own. Let me walk you through an easy step-by-step guide for creating spring twists.
First things first, start with clean and conditioned hair. It’s essential that your natural hair is in its best condition before you embark on twisting it. A good shampoo followed by deep conditioning will do the trick.
Next up is parting your hair into sections. Depending on how thick or thin you want your twists, divide accordingly. Remember, smaller sections will give more volume but take more time too!
Once done with sectioning, apply a good quality twist cream or gel to each section one at a time before twisting them. This ensures that your twists hold well and last longer.
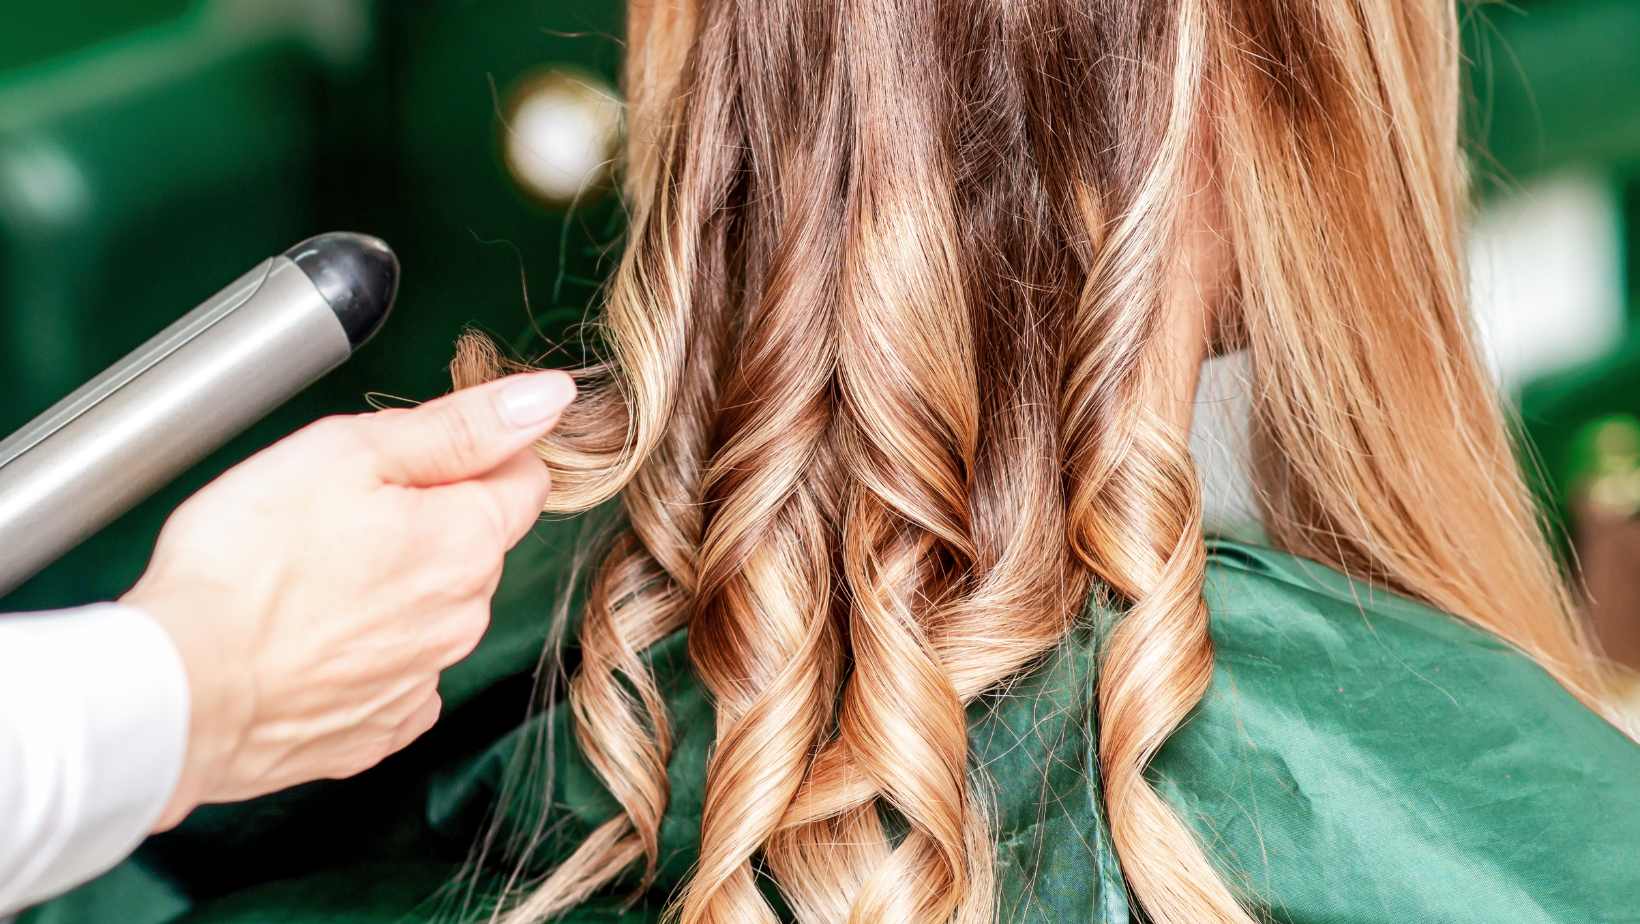
Now comes the fun part – twisting! Start at the roots and keep twisting till the ends while ensuring each strand is equally twisted for uniformity.
Repeat these steps until all sections are covered in beautiful spring twists.
To wrap this up (pun totally intended), here are some quick tips:
- Always moisturize: Keep those tresses hydrated for healthy looking twists.
- Don’t over-twist: Overdoing can lead to unnecessary tension causing breakage.
- Maintenance matters: Wrap up your hair at night using silk or satin scarf; this helps maintain the longevity of your spring twists.
And voila! You’ve now got yourself a stunning ‘Spring Twist on Natural Hair’. Go ahead and flaunt those gorgeous curls!
Remember that practice makes perfect so don’t be disheartened if they aren’t perfect right off the bat! The beauty of natural hairstyles lies in their uniqueness – just like our unique strands of hair.

