Tripod Riser Techniques for Improved Photography
In today’s digital age, photography has become more accessible than ever. With smartphones and affordable cameras, anyone can take stunning pictures. However, even with advanced camera technology, capturing stable and sharp images can still be a challenge. That’s where tripods come in. Tripods play a crucial role in providing stability to your camera while shooting, allowing you to up your photography game and take crisp, professional-looking photos. But did you know that there are tripod riser techniques that can further enhance the quality of your shots? In this article, we’ll delve into some effective techniques that will help you elevate your photography skills.
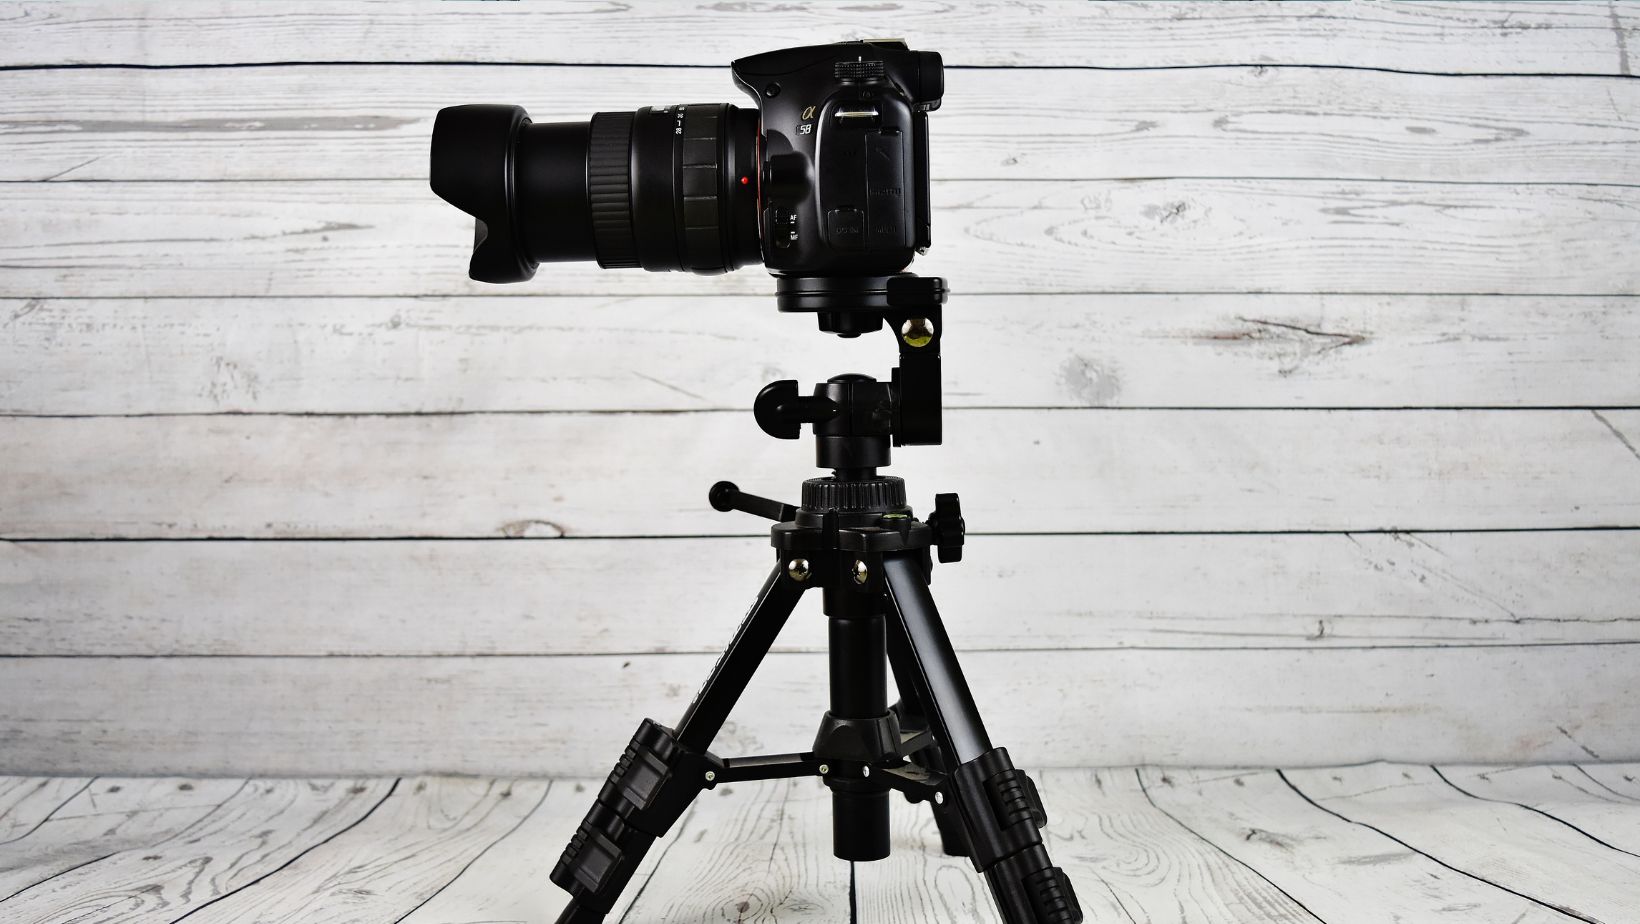
Setting Up the Tripod:
Before experimenting with tripod riser techniques, it’s important to set up your tripod correctly. Start by finding a stable surface on which to place your tripod. Avoid uneven or slippery ground as it will affect stability. Make sure all the legs are extended equally to maintain balance. Adjust the height according to your comfort level; typically, photographers prefer eye-level height for convenience.
Fine-Tuning Leg Angles:
Once you have set up your tripod at the desired height, consider adjusting the leg angles to maximize stability and minimize vibrations caused by minor movements or external factors like wind. By widening the leg angle stance beyond 90 degrees if necessary, you’ll create a sturdy foundation that can withstand slight disturbances.
Adding Weight:
Sometimes, even a securely placed tripod can experience trembling caused by strong winds or an accidental bumping into it. Consider adding weight to your setup to counter this problem and increase stability further. Some tripods come equipped with hooks on the center column for suspending bags or backpacks as counterweights.
Utilizing Center Column Extenders:
Utilizing center column extenders is an effective technique for photographers who frequently capture overhead shots or require extra reach without compromising stability.
This retractable vertical section of the tripod helps you raise your camera height without adjusting the leg length, allowing for flexibility in composition. However, it’s important to note that while using a center column extender can be helpful, it increases the risk of introducing minor vibrations or distortions.
Using a Gimbal Head:
When photographing subjects that involve constant movement, such as wildlife or sports photography, utilizing a gimbal head can vastly improve your ability to capture sharp images.
The gimbal head compensates for unbalanced and heavy camera lenses by providing fluid movement along both axes of rotation. This feature allows you to track and capture fast-moving subjects smoothly without sacrificing stability.
Staying Mindful of External Factors:
While mastering tripod riser techniques is crucial for improved photography, it’s equally important to consider external factors. Windy weather conditions can cause vibrations in your setup, impacting image sharpness and stability. Additionally, always be aware of your surroundings: avoid overcrowded areas where someone might accidentally bump into your tripod setup.

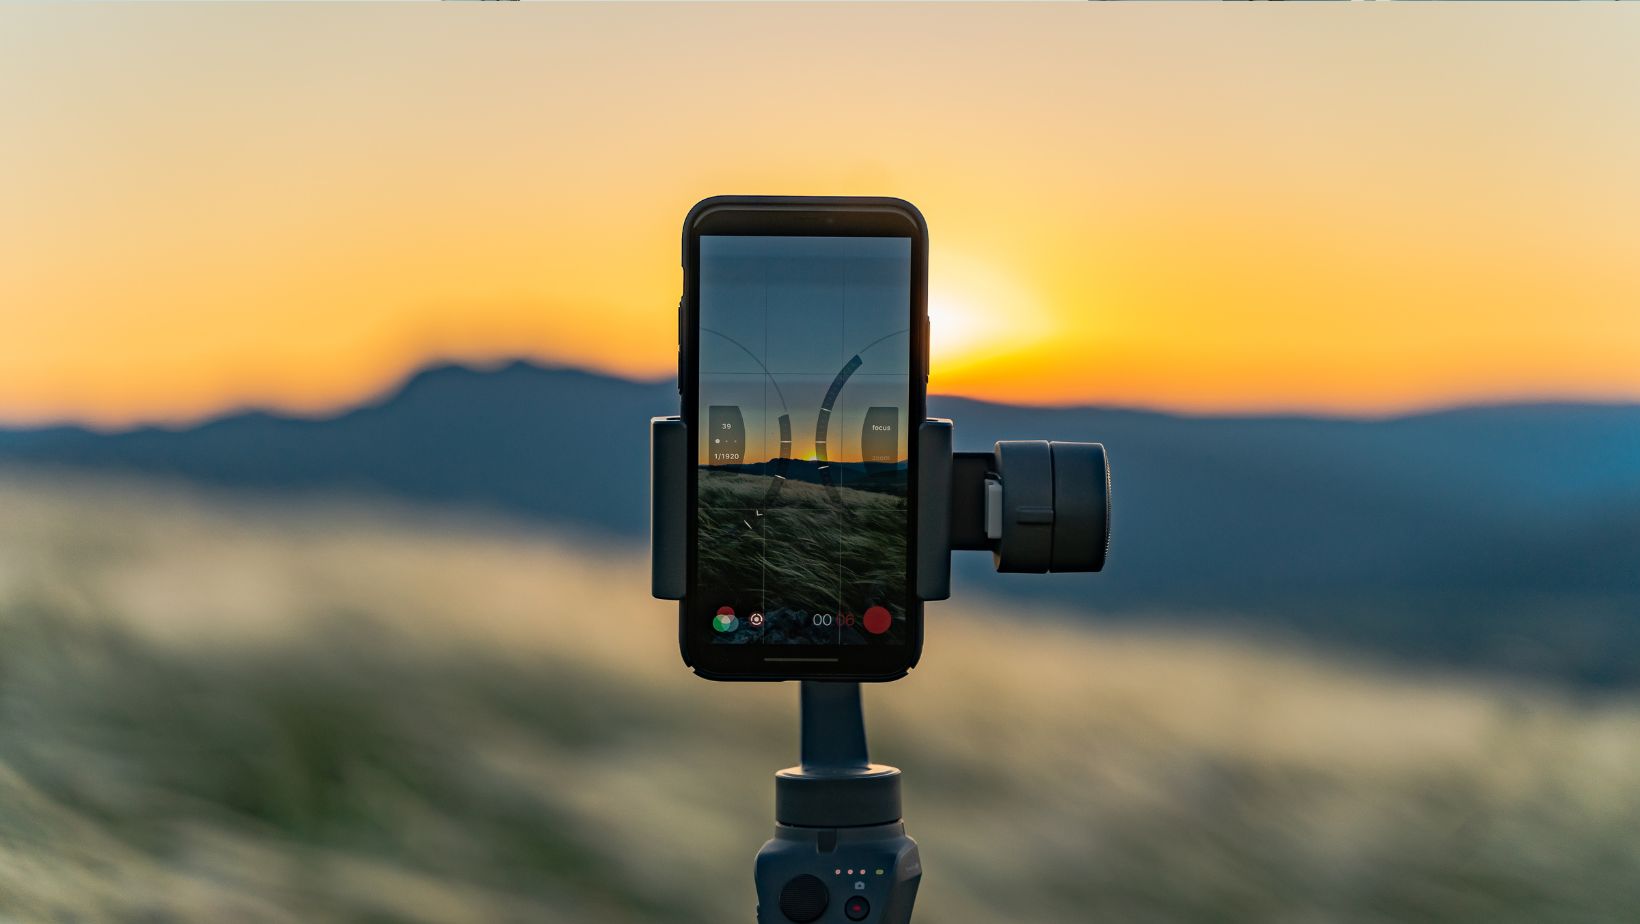
Experimenting with Creative Angles:
Once you have mastered the primary techniques mentioned above, experiment with creative angles by adjusting various tripod settings and heights. You can achieve unique perspectives by lowering your tripod near ground level or positioning it high enough to create an aerial appearance.
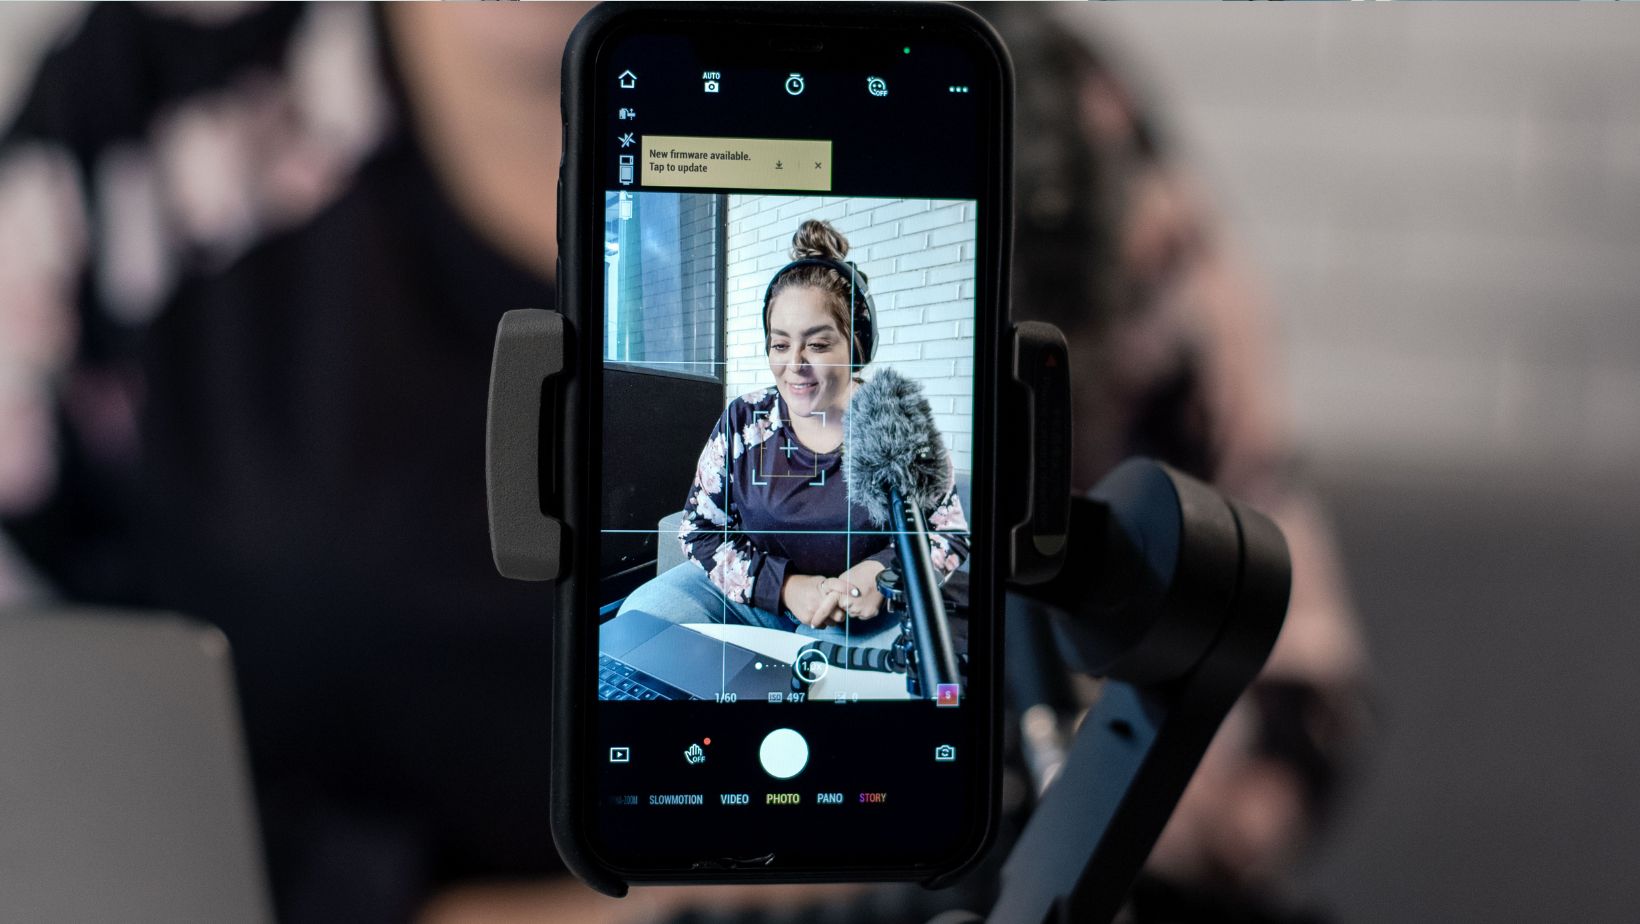
Using Remote Shutter Release:
A remote shutter release is a valuable tool that can significantly enhance the stability of your tripod setup and prevent any unintentional camera shake caused by physically pressing the camera’s shutter button.
Remote shutter releases come in various forms, such as wired, wireless, or smartphone apps connecting via Bluetooth. By utilizing a remote shutter release, you can capture images with utmost precision and avoid vibrations from direct camera interaction.
Conclusion:
Incorporating tripod riser techniques into your photography workflow enhances image quality and provides limitless creative possibilities. By following these tips, such as setting up the tripod correctly, fine-tuning leg angles for stability, adding weight when necessary, utilizing center column extenders when required, investing in a gimbal head for fast-action shots, considering external factors, and exploring artistry through different angles – you will undoubtedly elevate your photography skills and capture breathtaking photos like never before! Happy shooting!

