Do-It-Yourself Tips For Repairing Water Damaged Ceilings
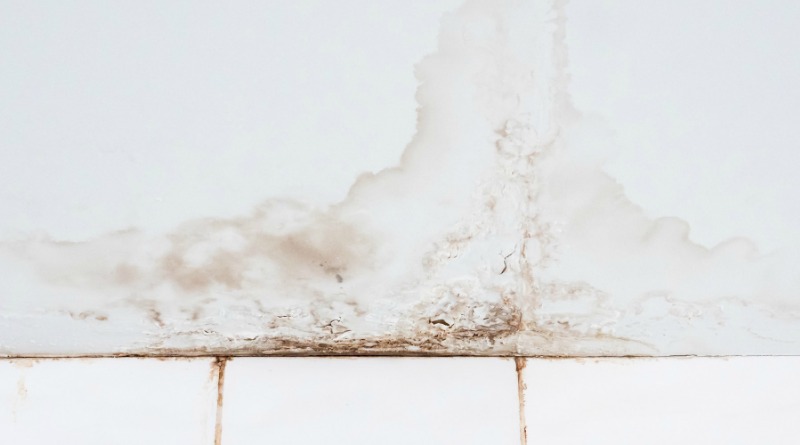
There’s no sinking feeling to a homeowner quite like looking up and finding the water coming through the ceiling. It’s a repair that needs to happen quickly, but is it within your scope of handiness?
The good news is, repairing a water damaged ceiling is a project any DIY weekend warrior can take on. All it takes is the right materials and a few easy steps to follow.
Looking for a ceiling fan that won’t break the bank? Check out our list of the best ceiling fan price Philippines. From budget-friendly options to top-of-the-line models, we’ve got you covered.
To help get you started, let’s look at 5 tips for repairing water damaged ceilings.
1. Fix the Cause of the Leak
There’s zero points of fixing water damage to your ceiling if you don’t first fix the cause. Without that, any repairs you make now will only get damaged again.
Sometimes the cause is obvious, such as a busted pipe or roof leak (when it’s the only thing above you). Other causes take a little more investigation. Check all upstairs bathrooms, pipes, and the attic area.
If you can’t find an obvious reason for the leak, you may need the help of a professional leak detection company near me.
2. Get Rid of Damaged Material
If your water damaged ceilings have areas that are sagging or loose, you first need to get rid of all compromised material that is beyond repair.
To remove a small area, cut the damaged drywall out with a handheld saw. If the damage is bigger, you’ll have to take down the drywall by hand. Punch a hole in the board with a hammer, then pull the drywall down until all the affected areas are gone.
3. Clean the Area
No matter if you’re patching or replacing the ceiling, you want to make sure you thoroughly clean the area before you finish repairing it. The last thing you want is for mold or mildew to grow in its place.
Prepare a bucket of one cup bleach to three cups of warm water. After placing a protective drop cloth on the floor and over furniture, wipe down the ceiling and all areas that got wet.
To rinse, spritz the area with a water bottle and dry with a clean cloth.
4. Make Repairs
Once everything is bone dry, it’s time to make your water damage repair.

Measure the area that needs a patch, cutting your drywall to fit. You can use a utility knife to cut for a perfect fit. Make sure larger pieces of drywall are firmly secured.
Once everything’s in place, tape up the joints then applies a joint compound, sanding down any rough edges.
5. Prime and Paint
Using primer will cover any visible stains that are left on your ceiling. It also helps prepare your ceiling to hold paint. You may need to apply two coats of primer if the stain is dark.
Once the primer is dry, you can start to paint. To make the ceiling look uniform in color, it’s best to paint the entire ceiling.
Fix Water Damaged Ceilings like a Pro
Add another notch to your handyman belt. By knowing how to repair water damaged ceilings, you can erase the damage and make your ceiling look good as new.
Ready to tackle some more home projects? Check out the articles in our Home, Hacks & Help blog!

