How To Paint On Metal Surfaces

Hi, I am Betty Knight, Owner of this site! I…
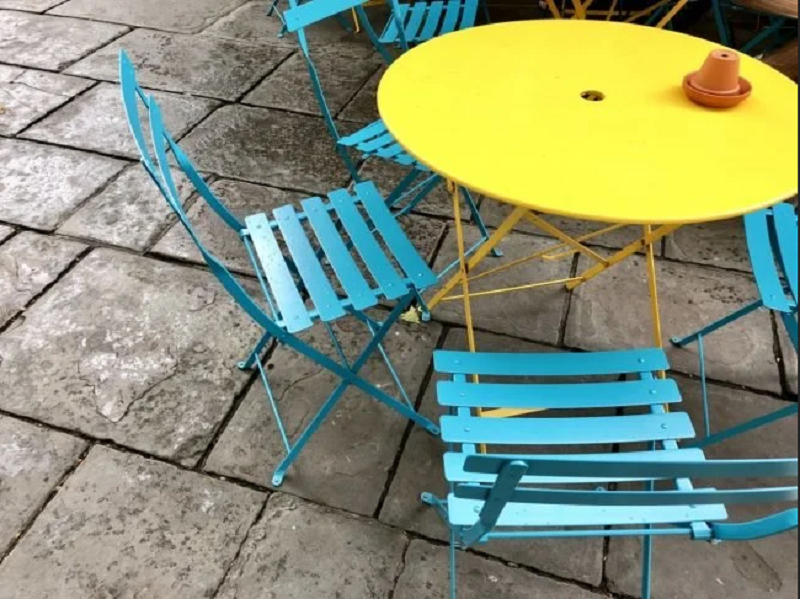
We all have that one little area around the home that needs a little TLC. For some people, it could be the oven that needs cleaning badly. It could be the front door which needs a lick of paint. Or, if you have any type of metalwork outside (and inside) metal which has seen better days.
It could be a garden rail that is gathering dirt like it’s going out of fashion or shelving which seems to love nothing more than rust for no reason. When working with metal, and painting it, if you don’t know what to look out for and how to paint effectively, you could end up with a seemingly simple paint job which turns into one big headache.
So, if you’re about to paint anything from a door knocker to a radiator, what do you need to know about painting on metal? Here are some tips and tricks to make such a daunting prospect feel incredibly simple.
Always prep your surfaces
If you don’t prep metal, it isn’t going to play ball. Unlike throwing a quick coat of primer on the living room wall, you may need to do some more intensive prep work on metal.
If you notice paint chips or signs of rust, they’ll need removing with a wire brush and scraper, before you smooth things out with sandpaper. If you want to paint on a bare surface, check what type of metal it is. Corrugated steel may take a lick of paint no problem, but aluminium and galvanized metals actively need to be scuffed a little to help give your primer something to cling to.
Always prep before you even think of opening the paint can, otherwise you’ll make some costly mistakes.
What if you need to weld the metal before painting?
Know your finishes
When you’re going to paint metal, do you want it to have a very glossy finish, or do you want a muted tone which looks similar to walls inside? Metal paints not only need to look good, but they are mixed in a way to help keep a finish in good order while facing the elements.
For example, a glossier finish on a fence might give a shine you take to, but if you opt for something that has a higher sheen, your paint is more at risk of blistering over time. This then leads to paint splintering and air getting in, which then leads to rusting. If you’ve ever seen a fence with rusty spots, it is usually a glossy paint which has been affected.
Seriously consider the finish. If you want as little trouble as possible, go for satin metal paint. If you want a shiny finish, gloss and tinted paints are ideal. If you need help figuring out which to go for, The Paint shed has an excellent range of metal paint available in all sorts of colours and finishes.
Avoid water-based paints if you can
Most paints typically fall under one of two paint types: water or oil. Now, when painting on metal, you’ll always opt for acrylic paints, which can be either water or oil-based. Without getting too confused, it usually helps to use oil-based paints on metal.
While they take a little longer to dry in, oil-based typically provides a higher level of protection which lends itself better when you’re painting outside. Now, to confuse things even further, that doesn’t mean you don’t need to avoid water-based paints. It is common to use oil-based paints as your first two layers before using a water-based paint on top to give your finished paint job a glossier sheen if you want your paint to “pop”.
If you don’t care, just stick with oil paints but know you’ll need to be a little more patient with drying times.
Cheat if you don’t care
This tip should only ever be used if you’re painting a metal surface out of necessity rather than choice. As long as you’ve prepped your metal as I mentioned above, you may be able to get away with leftover paint for jobs inside. I’m talking about the likes of pure white matt emulsions and eggshell paints.
Just know you run the risk of quick discolouration if you’re painting anywhere outside that gets direct sunlight, as most exterior paints have been formulated with more intense colour bonds – one of the reasons it takes longer to dry in.
One last thing!
Always remember that brushing left to right in small strokes is going to help you avoid the dreaded look of brush marks showing up after drying in. Now get to painting metal responsibly.
What's Your Reaction?
Hi, I am Betty Knight, Owner of this site! I am a 'nearing 30-year-old', happily married to 1 awesome man. We live in the beautiful tourist town of Franklin NY.


